
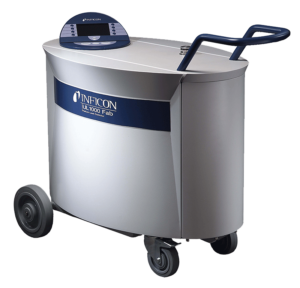
Leaks in a vacuum furnace or chamber can be troublesome and time-consuming to locate. It’s important to have an understanding of how to set up your leak detector properly and then connect it to run a thorough troubleshooting routine. Geoff Humberstone has written a detailed article on the subject which you can access by clicking on the link below.
Here’s a brief overview:
The article describes how to start by fabricating an inlet manifold so you can easily connect it to a chamber or furnace. Then calibrating the unit and tuning it properly to get good results. Next, it describes how and where to connect it to your system, preferably using the blower inlet, and the trade-offs between sensitivity and low background readings.
Techniques
After pumping down the chamber/furnace, get it on the diffusion pump or blower if applicable, then the valve in the leak detector. A high background reading probably indicates some gross leaks in the 10-4 or 10-3 cc/second range, so these will need to be repaired to reduce the background to a reasonable level. Adjust the wand helium flow using your tongue to sense a low flow. You can later use a coffee cup and adjust the flow for several bubbles per second.
With the wand, start at the top and work down.
Start by checking the following:
- Power feedthroughs
- Door seals
- Viewport seals
- All tapered pipe thread connections
The article further describes many of the places where leaks can occur and some unusual spots like the furnace cooling shell or heat exchanger.
